Back in March, I posted about my experience with Ego’s 18″ battery saw. You can read about that HERE.
I knew that Ego also had a 16″ version – their CS1604. I had not tried that one before, so I recently made the purchase in order to do this write-up.
I purchased the saw from Amazon, and it came with one of the 5 amp-hour batteries, along with a charger. According to Amazon, over 500 people purchased one of these in the last month. That compares to about 200 people for the CS1804. This makes sense, as there is a $100 difference in retail price between the saws.
Ego CS1604 Basics
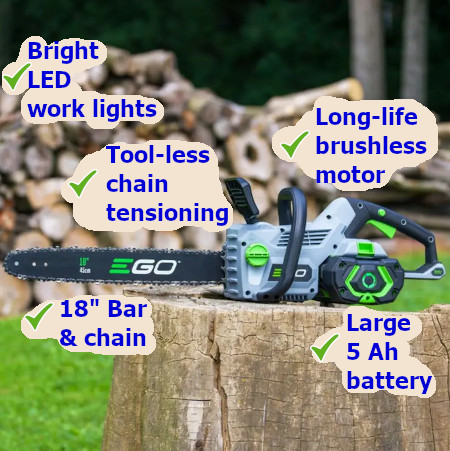
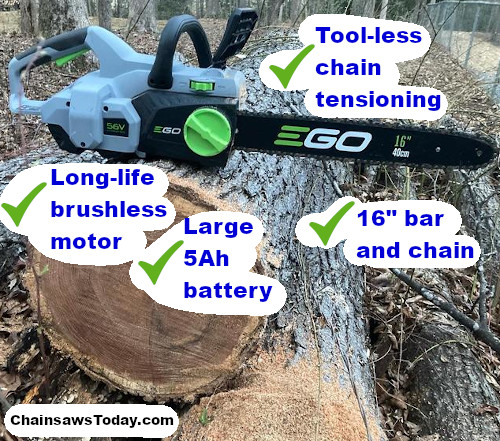
16-inch bar and chain
6,800 RPM operating speed
IPX4-rated weather-resistant construction
Tool-free chain tensioning system
Brushless motor for longer life
35cc gas engine equivalent
3/8-inch pitch, .043-inch gauge chain
5 Ah lithium battery
5 year warranty for the tool
3 year warranty for the battery
18 lb operating weight
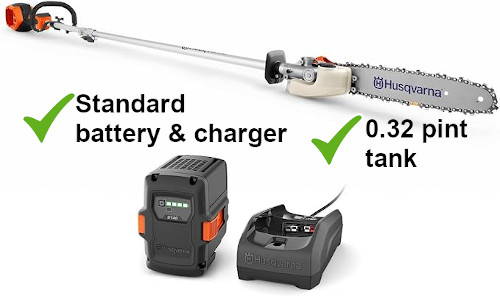
If you aren’t familiar with Ego products, one of their claims to fame is that all of their batteries work with all of their products.
This comes in pretty handy. If you have one of their blowers or string trimmers, you could just buy one of their “naked” chainsaws (one without the battery and charger), and just use the battery and charger you already have. That can save you in some cases $75 or $100.
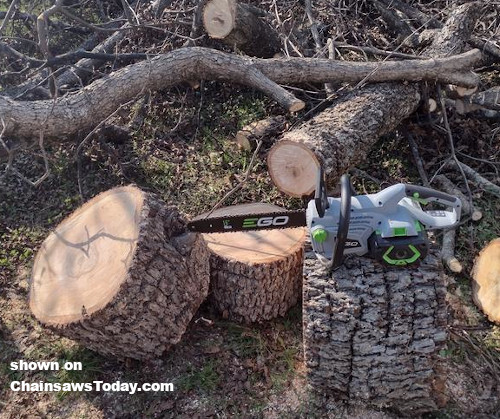
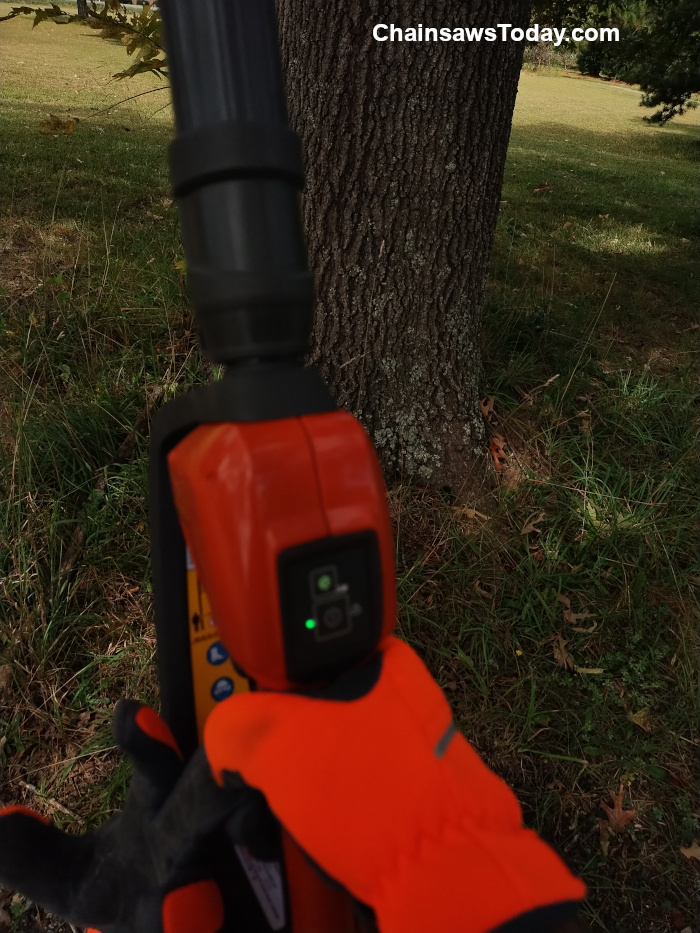
The battery clicks into place securely. It definitely makes up a large percentage of the saw’s weight. Once installed, the chainsaw is pretty well balanced, but not particularly light.
As I mentioned in the CS1804 review, I think Ego makes a 3Ah battery, which might lighten this thing up by a pound or so.
CS1604 Performance
I was surprised at how different the CS1604 experience is compared to the CS1804.
I was expecting basically the same saw, but with a shorter bar. But right from the get-go, it was apparent they are two very different saws.
The 1604 is definitely quieter, and feels a bit less powerful. I am guessing this is all due to operating RPM. You’ll notice Ego lists the CS1804 at 11,000 rpm, versus 6,800 RPM for the CS1604.
Ego doesn’t list a spec for their motor wattage, but we can assume the 1604 uses a smaller motor than the 1804.
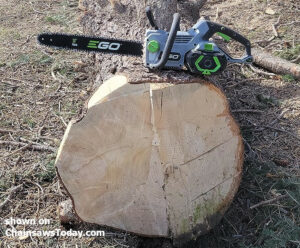
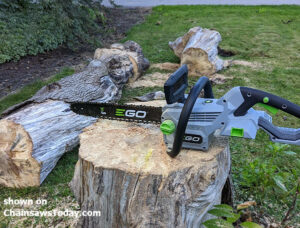
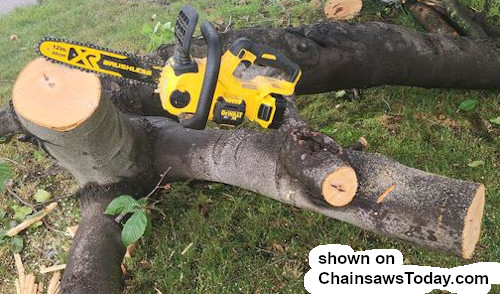
The saw cuts well, with very little vibration and noise. I noticed straight cuts, and I must have gotten a particularly sharp chain right out of the box, as this thing really made the chips fly for the first few cuts.
Ego claims this thing can make up to 250 cuts on a 4×4 post. You can compare that to 300 cuts for their CS1804. I suspect they get about the same battery life unless you are really maxing out the saw length.
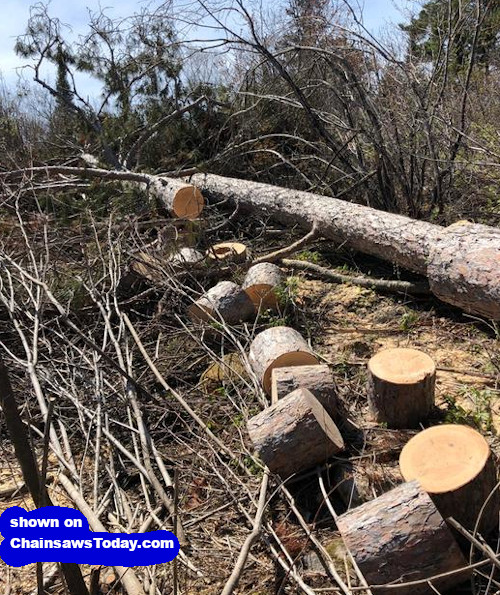
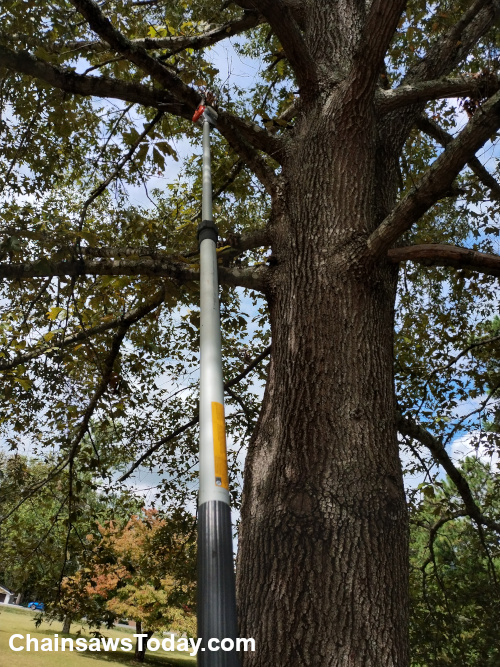
Which I did on occasion! Some of the red oak I was cutting was 20″ plus in diameter, requiring a 2-sided cut. Burying the bar into the wood didn’t stall this saw out, but I could only apply somewhat light pressure.
Like their other saws, the chain tensioning mechanism works fine, and really is tool-less in its adjustability.
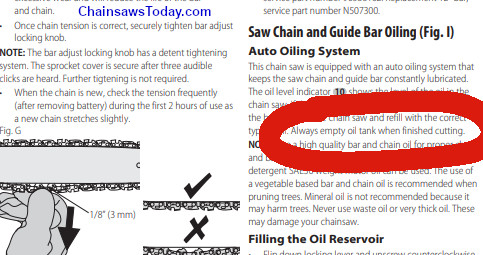
For convenience, I’ve added a copy of the CS1604 owner’s manual HERE.
Review Verdict
I give the CS1604 a thumbs up.
I liked the saw, but it’s definitely a bit lighter-duty than the CS1804.
I think that stands to reason, given that it’s smaller and $100 cheaper.
Depending on how much and how often you’ll use a saw, as well as what your own personal budget looks like, it may be worth your money to upgrade to the 18″ version.
But as a more entry-level battery saw, I do think it’s an attractive option.
 That’s what I tell myself every time I do something risky.
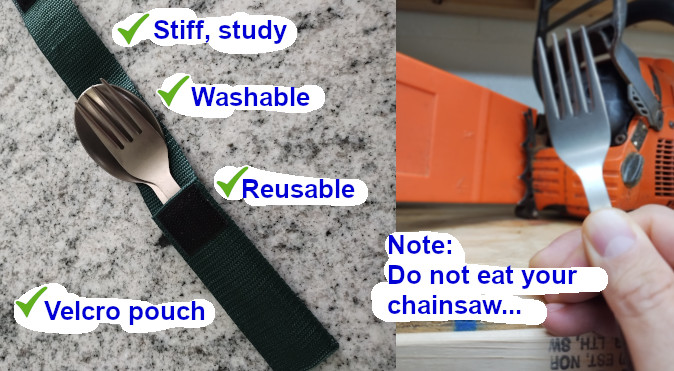
 I am sick – really sick – of using little tiny plastic forks.
 I’ve mentioned before that some saw jobs I do are in deep country.
 I’m not against going out to lunch, but I’m all about getting work done. It just seems more efficient if I pack my own meal, sort of eat on the run. It saves me from driving somewhere, waiting in line, etc.

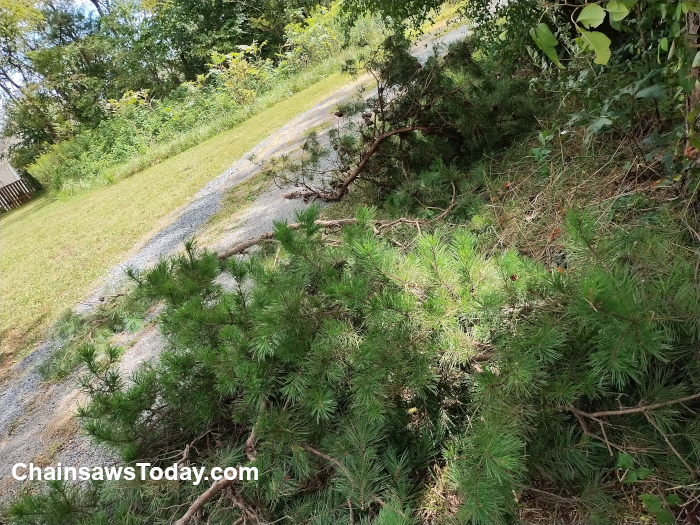
 Much of the trail is not accessible by any type of motorized vehicle.
 1) You can never have too much water. Well, okay, if you took a zillion gallons and the weight was more than you could carry, of course that would be too much. My point here is doing all that hard work will make you sweat, and you are going to need to hydrate.
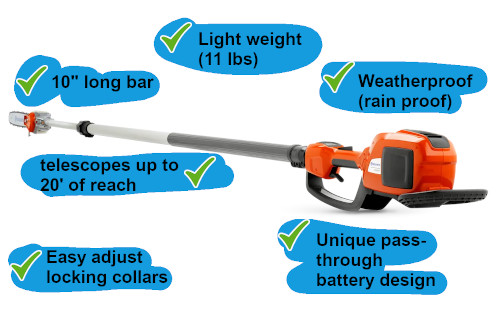
 2) A saw that’s too big is not ideal for this type of job. Using more fuel than you need is a terrible idea if you have to backpack in all of your supplies. I used a small
  3) Pack some toilet paper. I don’t want to get too personal here, but in some cases I was an hour or hour and a half walk from the truck. At even then, I would have to drive to a nearby gas station or store to find a bathroom. That’s not going to work, guys! I packed some TP, and when I had to go I did so behind a tree.
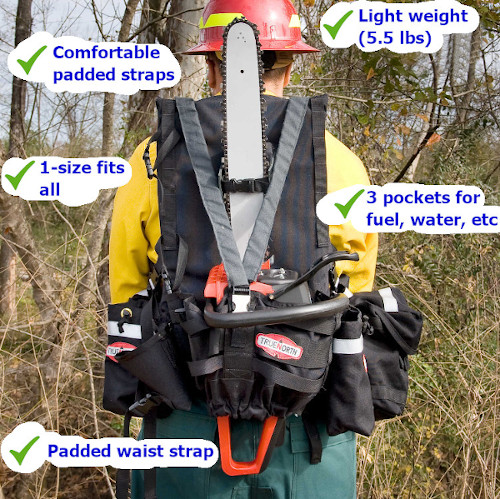
 They don’t list a weight capacity, but I figured my back would probably give out before this pack would!
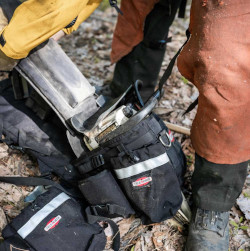 It is basically one size fits all. All of the straps are adjustable. I’m a pretty bulky guy, and it fit me just fine. Maybe if you’re more than 300 lbs or less than 100 lbs it could give you some trouble, but outside of that it was just the right size.
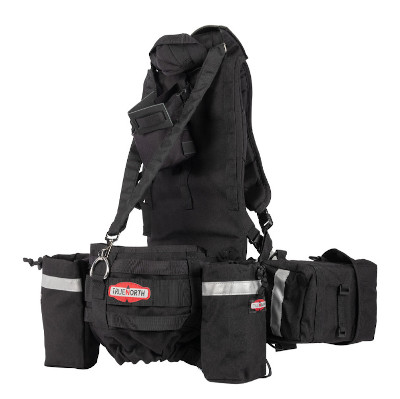
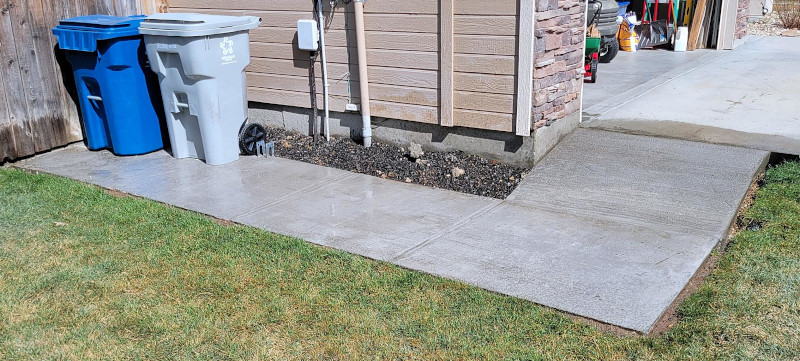
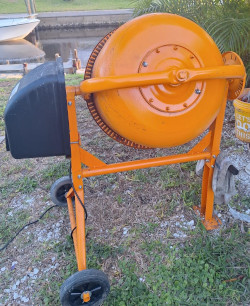 These days I stay pretty busy as a local handyman.
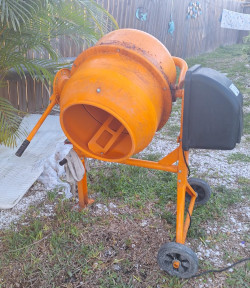 The local hardware place wanted $60 per day to rent out a cement mixer. I thought it would take me probably a day and a half, and when you look at transport time and cost, it was going to cost me right at $150 to rent one. It was apparently I could buy an inexpensive one for not much more than that, so I pulled the trigger!
 My twenty year old air compressor finally gave up the ghost.
 The “gallon” refers to the size of the tank. This is like a battery. The bigger the volume of the tank, the longer the compressor can run a tool before the motor kicks on.
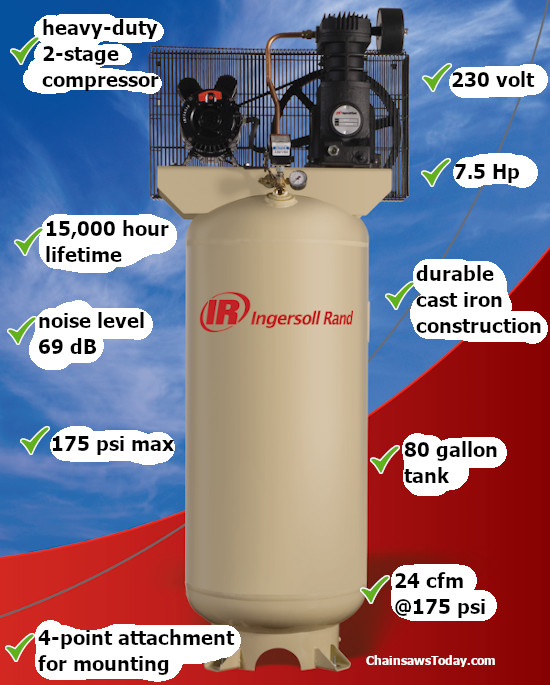
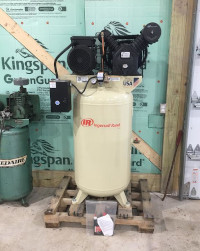 It arrived in a big crate, and I made quick work of uncrating it and moving it into it’s final position with a dolly and some grunting and shoving.
 Raise your hand if you’ve ever lugged a heavy, noisy, vibrating string trimmer all over God’s green earth and then had a backache that evening.
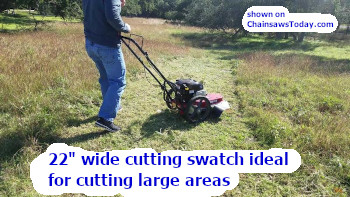
 They are really made for cutting acreage. And even then, depending on your terrain and what you’re trying to cut, they may not be suitable.
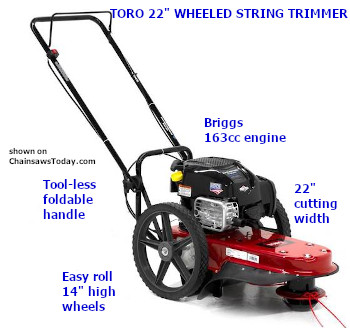
 If you’re a regular reader of ChainsawsToday, you know I love getting my hands on various chainsaws and trying them out.