Sometimes I do my best thinking while I’m driving.
The other day I was on a somewhat long trip, and I was thinking about what kind of product I should talk about next here on my website. I know you guys love chainsaw reviews, but I also enjoy offering up my experience with other outdoor power equipment.
It occurred to me there is one piece of equipment that I use way more than chainsaws but I have never posted about: an electric pressure washer!
 I tend to get a lot of satisfaction from cleaning things up. It’s not that I’m a neat-freak. Half the time my truck is a muddy mess. My clothes might be sweaty and dirty from working all day. If you looked at some of the tools in my garage you would think I’ve never wiped them down.
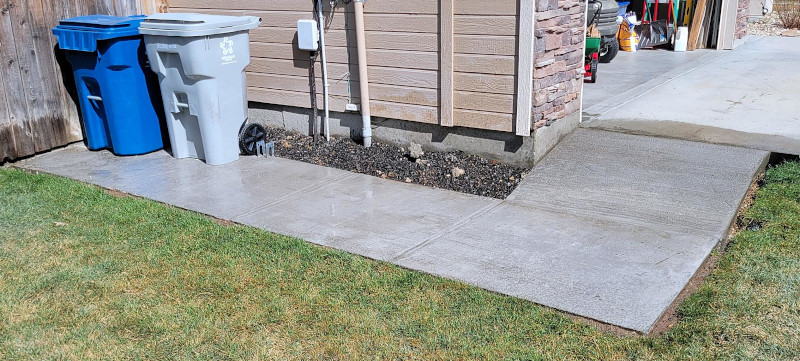
But I really enjoy washing a car, making it look sparkly clean. I love the look of freshly pressure washed concrete sidewalks. It makes me feel good inside to take the dingy, mildewy siding on a house and make it look practically brand new. In that way, pressure washing is a labor of love.
I bought a new pressure washer the other day, so here’s my story.
As you guys know, I tend to work for myself as a bit of a handyman. I guess my specialty is tree cutting and removal, but over the years I’ve done everything from installing sprinkler systems to brake jobs. If you need it done, often times I’m the guy.
For pressure washing, for several years I’ve been using a big gnarly beast of a unit. It is a Simpson Powershot 3228. It is a really good unit.
It has a Honda engine that never gives up. It can get up to 3300 psi, flow 2.5 gallons of solution per minute, came with a 25 foot hose, and is more or less indestructible.
Why in the world would I consider buying a different unit?
 Well, the weight. That Simpson weighs 77 lbs. That might be fine if you are just using it at home, wheeling it out of your storage shed over to the corner of the house. But trying to get it into the bed of the truck (or worse yet the cab) is a back-breaking affair.
Like many gas powered pressure washers, the Simpson is big, heavy, loud, and stinky. I have been eye-balling a plug-in electric unit for a while now.
Gas vs Electric
Traditionally, you would pick a gas PW over an electric PW in cases where you needed more power. But pump and motor technology have improved over the years, and at this point you can buy plug-in electric versions that are basically as powerful as petrol.
And of course the electric versions are lighter, smaller, and more convenient. I toss an extension cord in the truck along with the PW, and don’t have to worry about a gas tank.
Pressure washing can be a noisy affair, but without the gas engine added to the mix, the electric versions are much quieter.
The emissions isn’t a huge deal for me, but I guess if you spend several hours washing stuff you end up getting tired of smelling all that exhaust, and it’s honestly probably not healthy anyway.
So at the end of the day, for probably 90% of the jobs out there, I feel like an electric pressure washer is the better fit.
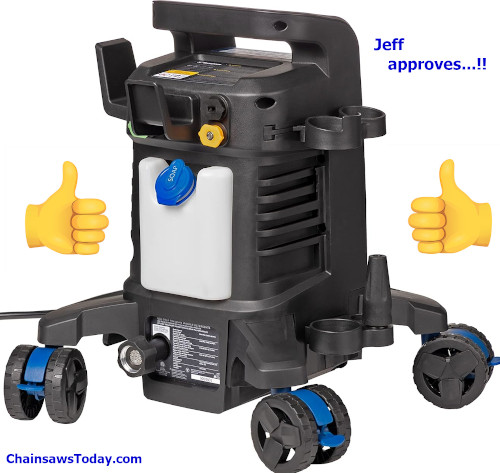
Westinghouse ePX3500 Specs
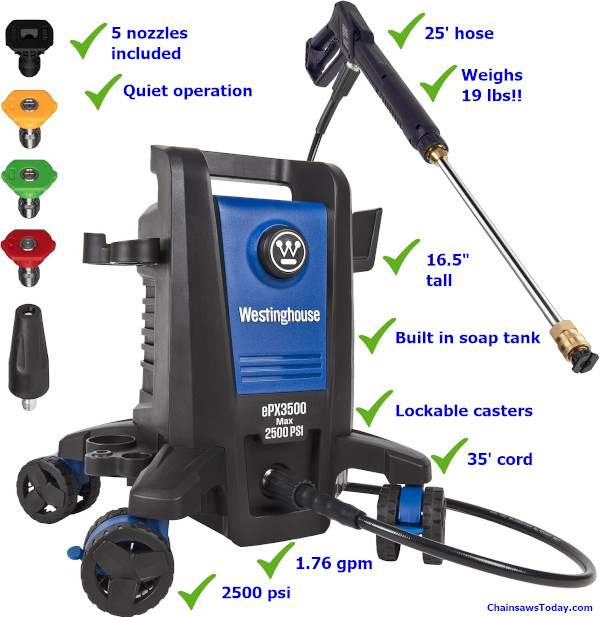
Here are the basics for the Westinghouse that I bought.
2500 PSI max pressure
1.76 gallons per minute max flow rate
16.5″ tall
19 lbs total weight (are you kidding me!!)
25 foot hose
35 foot power cord
5x nozzles included (turbo, 0 degree jet, 15 degree blast, 25 degree wash, soap)
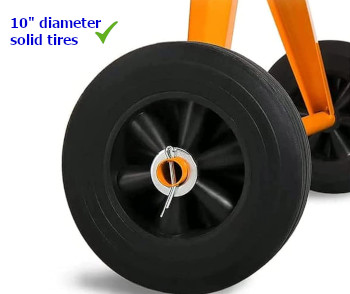
lockable wheels
built-in soap/solution tank
A pdf of the ePX3500 owner’s manual is HERE.
My Review
When I first took this thing out if its box, I was shocked by how light it was. It only weighs 19 lbs. Compare that to the Simpson that I had been using, which is 77 lbs. This a gamechanger.
I was actually a little worried. I was thinking how can this thing be durable, it feels so light it’s like a toy. But it does come with a 3 year warranty, and Westinghouse is a pretty famous name brand.
 Setup was easy, and all of the attachments were well packaged.
I immediately put this thing to work.
The 25 foot hose is plenty long enough to walk all the way around a vehicle, or a driveway etc. And the small unit is on 4 lockable wheels, so rolling it along is no trouble.
The casters at the base are spread pretty wide to help keep it from tipping over. That’s a good thing, since it’s so light it can be easy to accidentally pull it off balance.
The 35 foot extension cord is nice and beefy. It stores on a little loop on the top of the washer. Of course a longer cord may always be needed, but I keep a 100 foot extension cord handy for this very reason.
Without the hum of a gas engine, this thing runs much quieter. It actually turns its pump off when you aren’t squeezing the trigger. It is almost eerily quiet compared to that big gas-powered Simpson.
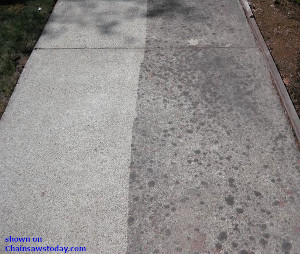
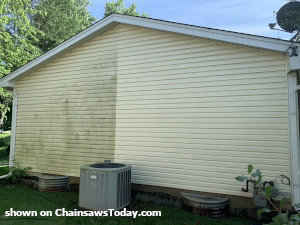 It has plenty of power. It took the grime off vinyl siding with no sweat. I think tackled a big section of a concrete driveway. Even though I used it on the driveway continuously for over an hour, it did not overheat or flinch. It really seems to have as much power as the 80 lb behemoth I have traditionally used.
I took this Westinghouse unit with me to a job last week. An elderly lady had asked me to cut down a big pine tree in her back yard, and I had casually asked her if she needed any pressure washing done while I was there. Apparently her son had pressure washed her driveway the previous year, but her two-story house was a bit too tall for him and she agreed to pay me to do the whole exterior of her house.
I brought some soap solution with me, as well as a 100 foot garden hose and a 100 foot extension cord. The Westinghouse powered right through all of it, and must’ve saved my back quite a bit of ouch since hauling the little 20 lb thing around was child’s play.
Really the only two negatives I can think of-
1 You have to be careful not to pull on the hose or it will tip over. This is just a function of how light it is, and I don’t really mind it.
2 The on-board soap tank is a little on the small side. It is easy to re-fill, so it’s no big deal.
If this tells you anything, know that after owning the Westinghouse for two weeks, I sold that Simpson pressure washer and I haven’t looked back since!
So I will give this thing two enthusiastic thumbs up.
 I was pleasantly surprised at all the extras included in the box. It really is a “kit”. Included are:
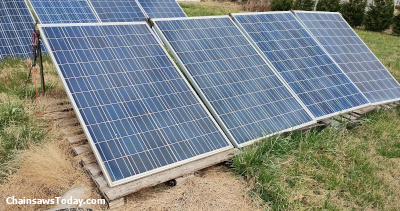
 My house has central AC, handled by a big heat pump. The unit is only about 4 years old, and is relatively efficient.
 That means during the height of summer, I work my heat pump pretty hard. Ignoring the electricity costs, which can be pretty high during really cold or really hot months, I hate beating on this big expensive heat pump, knowing that it will cost a fortune to replace or repair once it wears out.
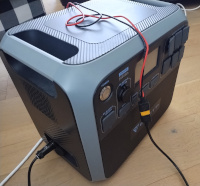
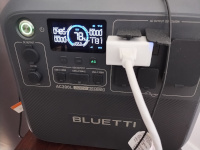 I use a Bluetti AC200L.
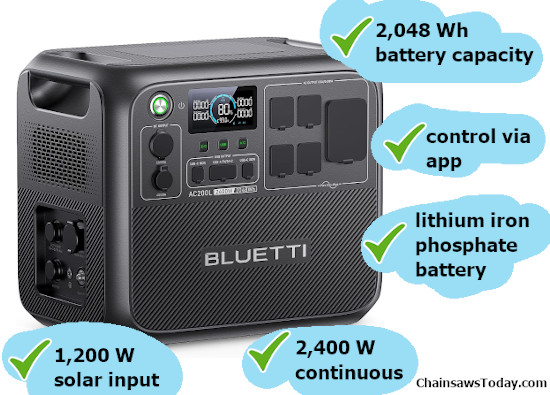
 I have used one of Bluetti’s AC200P units in the past. There was nothing wrong with it, but the AC200L is a giant step forward.
 That’s what I tell myself every time I do something risky.
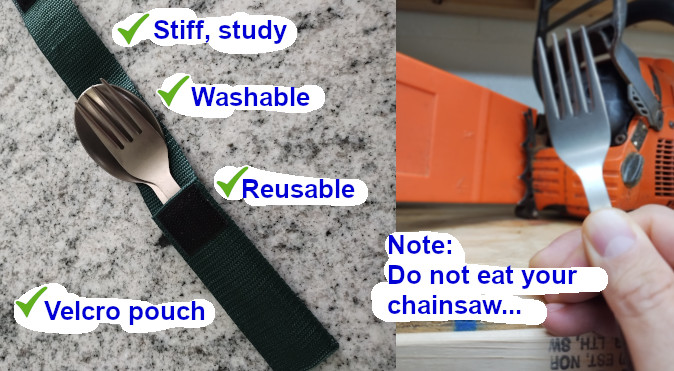
 I am sick – really sick – of using little tiny plastic forks.
 I’ve mentioned before that some saw jobs I do are in deep country.
 I’m not against going out to lunch, but I’m all about getting work done. It just seems more efficient if I pack my own meal, sort of eat on the run. It saves me from driving somewhere, waiting in line, etc.

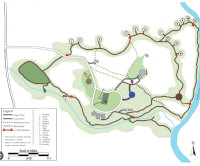 Much of the trail is not accessible by any type of motorized vehicle.
 1) You can never have too much water. Well, okay, if you took a zillion gallons and the weight was more than you could carry, of course that would be too much. My point here is doing all that hard work will make you sweat, and you are going to need to hydrate.
 2) A saw that’s too big is not ideal for this type of job. Using more fuel than you need is a terrible idea if you have to backpack in all of your supplies. I used a small
 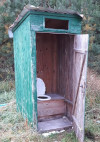 3) Pack some toilet paper. I don’t want to get too personal here, but in some cases I was an hour or hour and a half walk from the truck. At even then, I would have to drive to a nearby gas station or store to find a bathroom. That’s not going to work, guys! I packed some TP, and when I had to go I did so behind a tree.
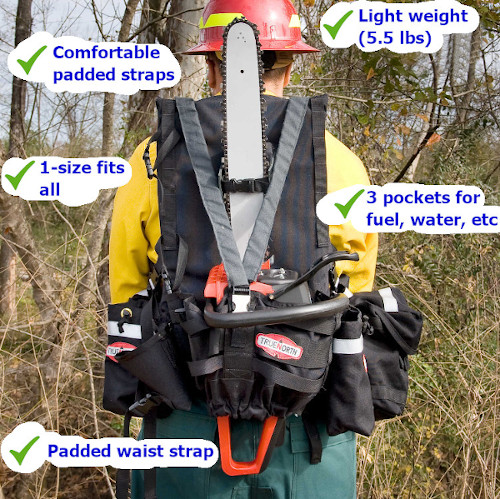
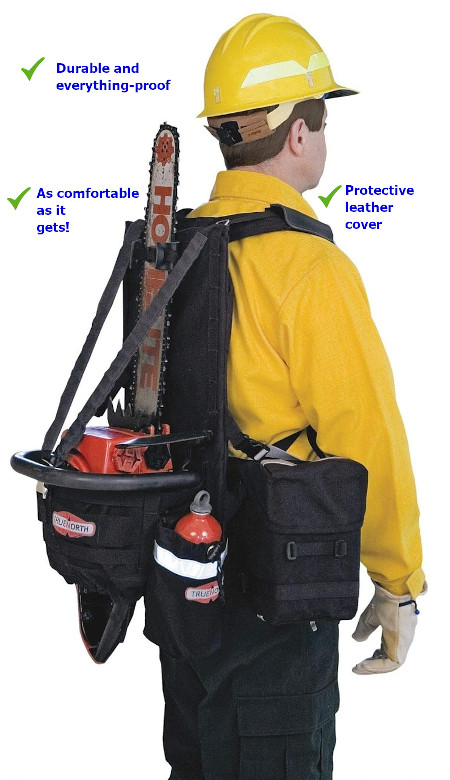
 They don’t list a weight capacity, but I figured my back would probably give out before this pack would!
 It is basically one size fits all. All of the straps are adjustable. I’m a pretty bulky guy, and it fit me just fine. Maybe if you’re more than 300 lbs or less than 100 lbs it could give you some trouble, but outside of that it was just the right size.
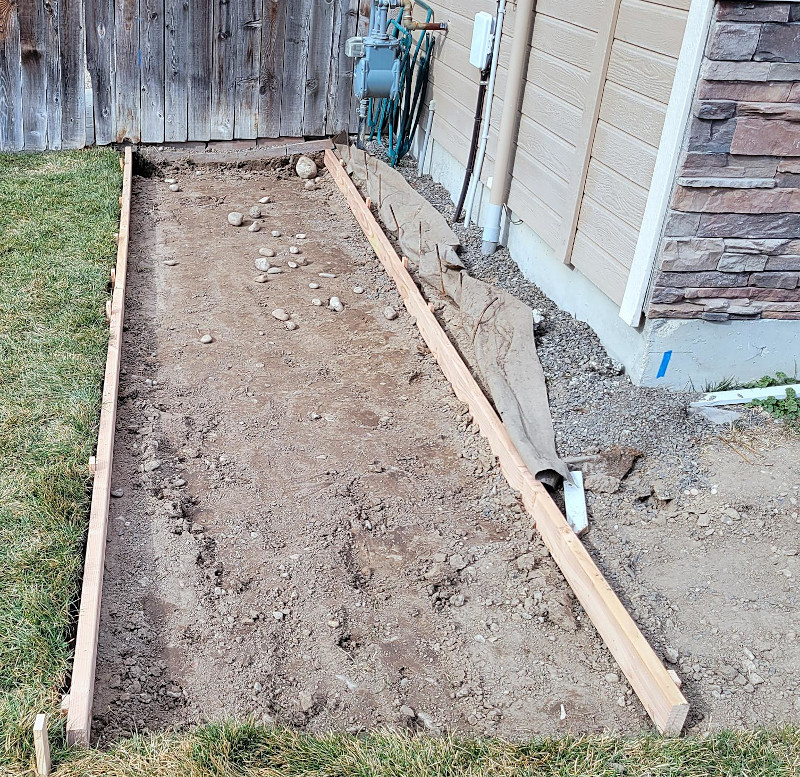
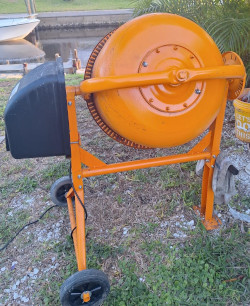 These days I stay pretty busy as a local handyman.
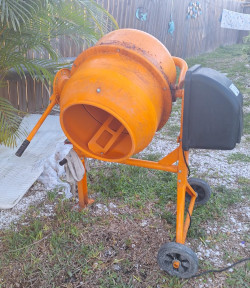 The local hardware place wanted $60 per day to rent out a cement mixer. I thought it would take me probably a day and a half, and when you look at transport time and cost, it was going to cost me right at $150 to rent one. It was apparently I could buy an inexpensive one for not much more than that, so I pulled the trigger!