 I am sick – really sick – of using little tiny plastic forks.
I’m a big dude. I stay active, I work up an appetite, and so I tend to eat big.
You have to admit, it sucks so bad to dig into a meal with a goofy plastic fork only to accidentally snap it in two or break off one of the tines.
Okay, I realize this strays pretty far from my normal chainsaw topics. But let me explain.
How Titanium Forks Relate to Chainsaws
 I’ve mentioned before that some saw jobs I do are in deep country.
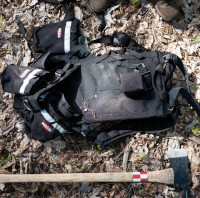
Not too long ago, I was describing a chainsaw backpack that is great for getting all of my gear to the middle of nowhere if I get hired for a job like that. You can check out my backpack review HERE.
It’s not unusual for me to pack a lunch.
Whether I’m working out of the back of my truck, or backpacking gear several miles, I definitely don’t like to go hungry.
 I’m not against going out to lunch, but I’m all about getting work done. It just seems more efficient if I pack my own meal, sort of eat on the run. It saves me from driving somewhere, waiting in line, etc.
Sometimes that’s just a sandwich, sometimes it’s more like a real meal. By real meal I mean like leftovers from the night before, haha.
After breaking off 2 of the 5 plastic tines of my plastic fork the other day, I was pretty exasperated. It’s pretty hard to eat a leftover chicken breast with a damaged utensil that resembles a toothpick!
So I started looking for some camping or backpacking utensils that I could use to eat my lunch while on a chainsaw job.
Moe’s Southwest Grill Plastic Fork Tease
Issue number one, chainsaw job vs plastic fork.
Issue number two, OMG Moe’s are you kidding me?
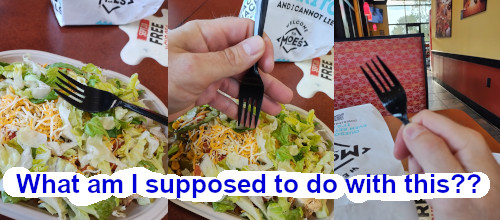
I tend to like Tex/Mex food. There is a Moe’s Southwest Grill not far from my house, and I eat there frequently.
They have the cheapest, most useless plastic utensils in the universe.
I’m not kidding you, they aren’t even fit for a four year old. They bend and break, and they are tiny.
Maybe all Moe’s restaurants don’t use these, I don’t know. Maybe it’s only my local place that is too lazy to wash and use metal forks. Leave a comment down below if you get a chance and let me know what your experience has been.
This, combined with my need for something to pack in my lunch for chainsaw job had me looking for some kind of backpacking utensils.
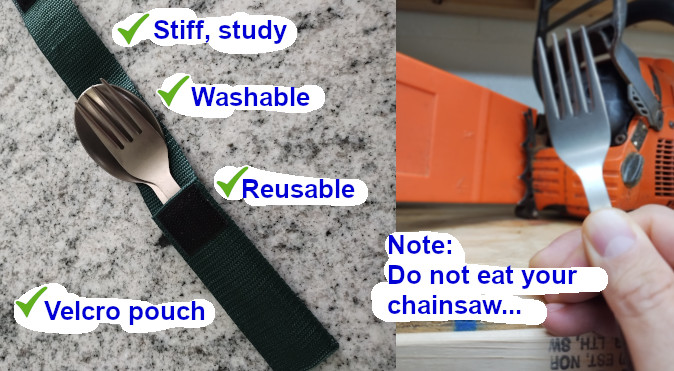
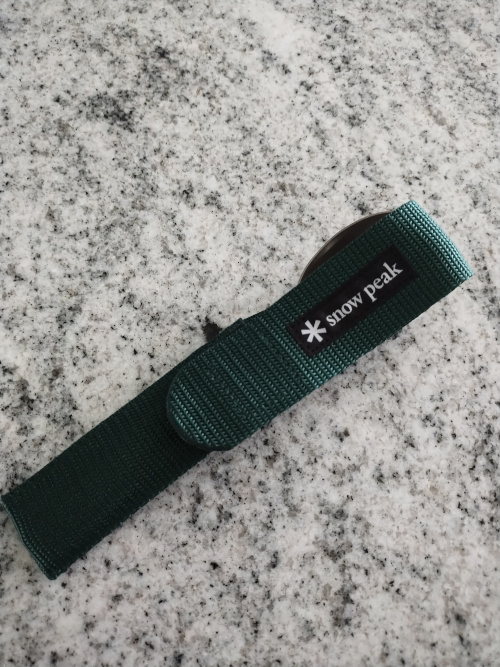
Snow Peak Titanium Utensils
Enter this little kit from Snow Peak.
I found a few options online for normal, basic stainless steel utensils. Some of them were even collapsible. Err, ok, but I don’t want “some assembly required”. And leave it to me to lose half of my fork under a tree stump!
I ended up choosing the Snow Peak set for several reasons.
They make them out of aerospace-grade titanium alloy mainly because it is such a light material, which can be important for backpackers. That’s cool, but a few ounces of weight isn’t really a deal killer to me.
The titanium is very stiff. Which I like. And also it’s inert, and won’t rust.
I liked the little velcro pouch the knife and spoon come in. It makes it easier to toss into my gear bag without losing them or having them become separated. It’s made out of nylon, so when it gets dirty I can just throw it in the washing machine or even give it a scrub outside under the garden hose.
Lastly, I liked the fact that their company has been around for 60 years.
They make good quality stuff, and they are proud of what they do. It’s not US based, bummer, but it’s a craftsman-like Japanese company and I give them a certain amount of credit for standing out in a crowd.
So go buy yourself a set, and quit screwing around with plastic forks!
I’ll try to remember to tell you guys sometime about the tactical lunch box I use.
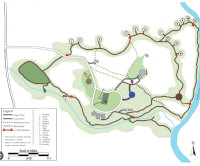 Much of the trail is not accessible by any type of motorized vehicle.
 1) You can never have too much water. Well, okay, if you took a zillion gallons and the weight was more than you could carry, of course that would be too much. My point here is doing all that hard work will make you sweat, and you are going to need to hydrate.
 2) A saw that’s too big is not ideal for this type of job. Using more fuel than you need is a terrible idea if you have to backpack in all of your supplies. I used a small
 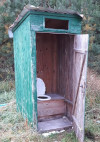 3) Pack some toilet paper. I don’t want to get too personal here, but in some cases I was an hour or hour and a half walk from the truck. At even then, I would have to drive to a nearby gas station or store to find a bathroom. That’s not going to work, guys! I packed some TP, and when I had to go I did so behind a tree.
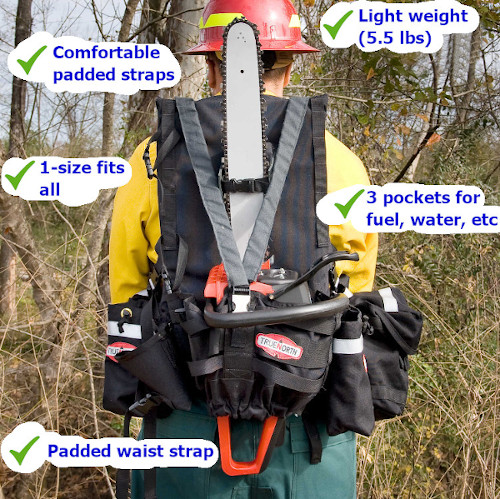
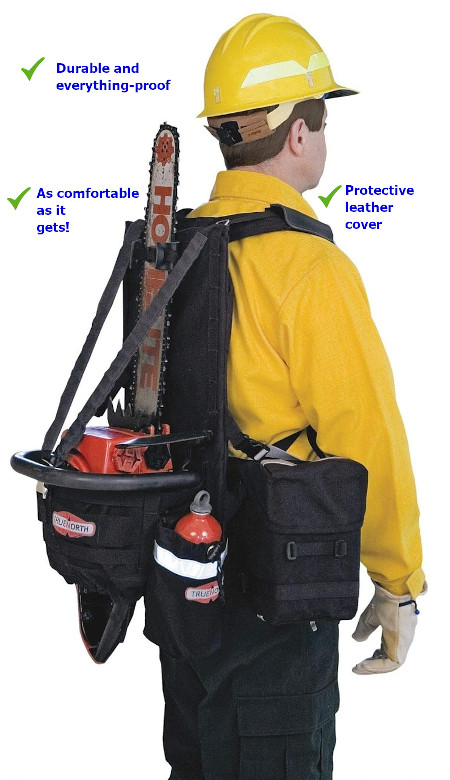
 They don’t list a weight capacity, but I figured my back would probably give out before this pack would!
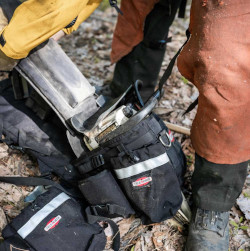 It is basically one size fits all. All of the straps are adjustable. I’m a pretty bulky guy, and it fit me just fine. Maybe if you’re more than 300 lbs or less than 100 lbs it could give you some trouble, but outside of that it was just the right size.
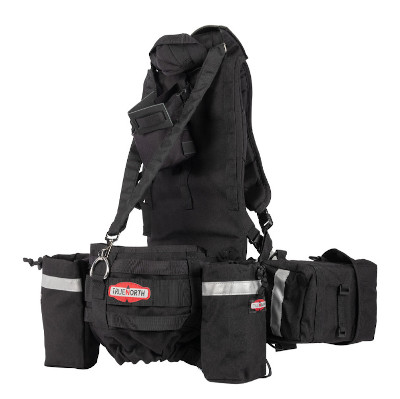
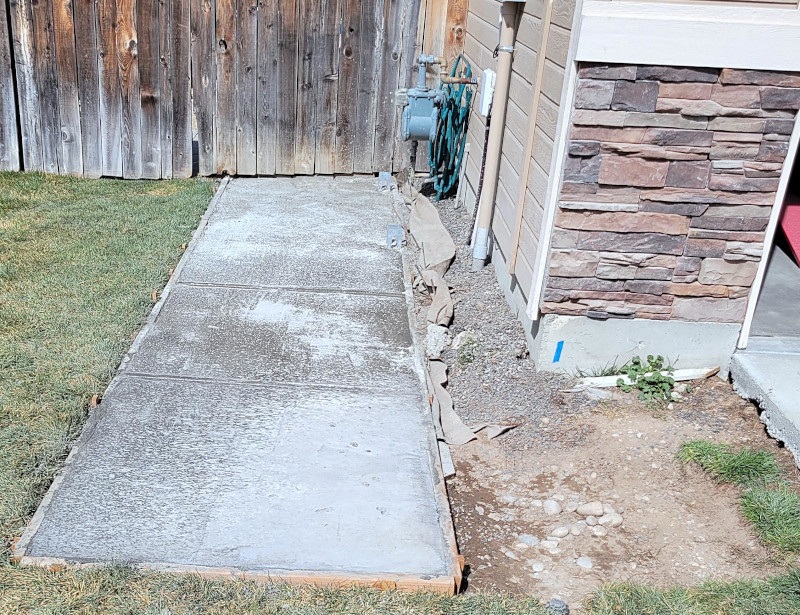
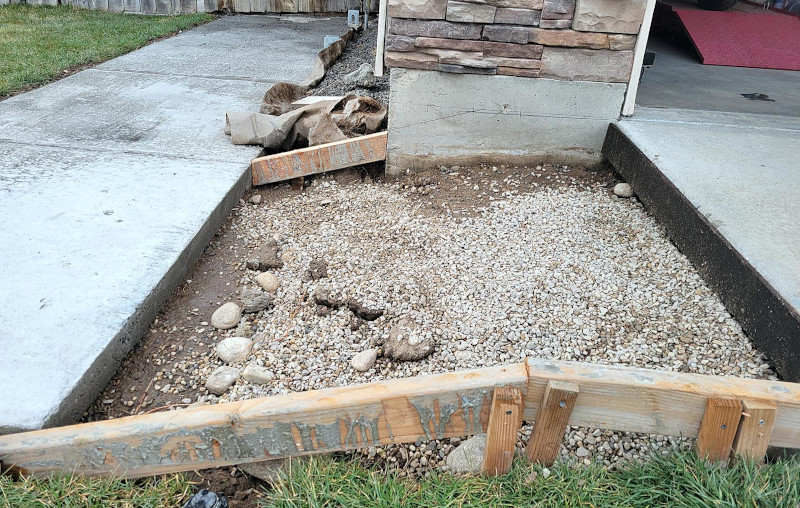
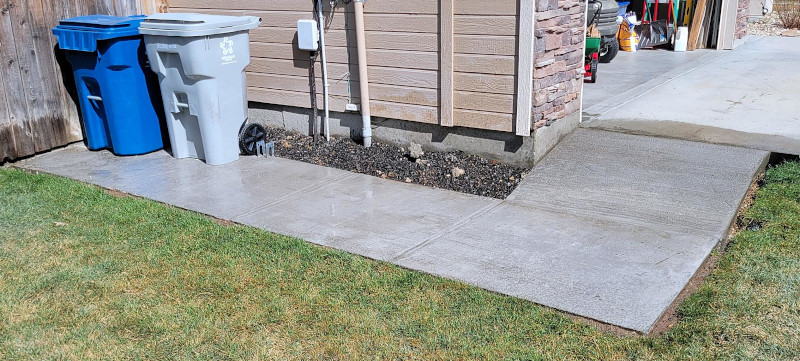
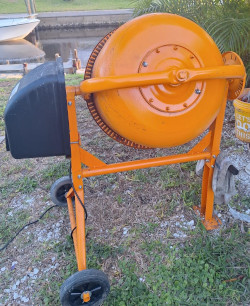 These days I stay pretty busy as a local handyman.
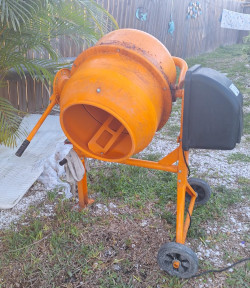 The local hardware place wanted $60 per day to rent out a cement mixer. I thought it would take me probably a day and a half, and when you look at transport time and cost, it was going to cost me right at $150 to rent one. It was apparently I could buy an inexpensive one for not much more than that, so I pulled the trigger!
 My twenty year old air compressor finally gave up the ghost.
 The “gallon” refers to the size of the tank. This is like a battery. The bigger the volume of the tank, the longer the compressor can run a tool before the motor kicks on.
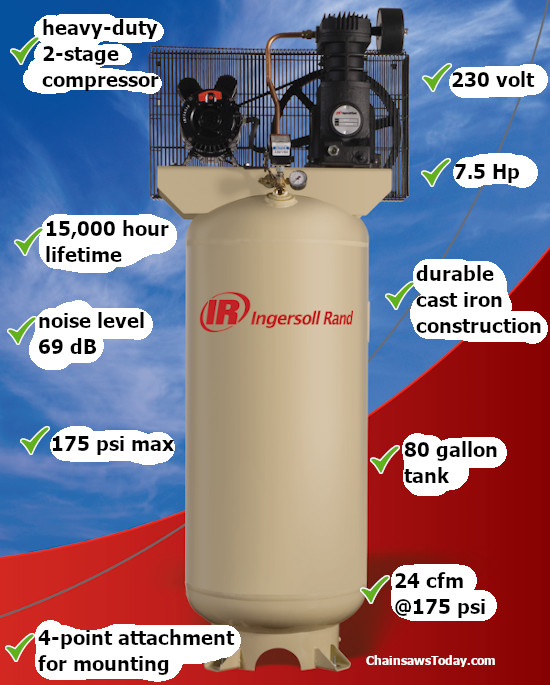
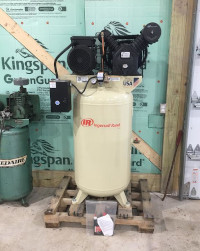 It arrived in a big crate, and I made quick work of uncrating it and moving it into it’s final position with a dolly and some grunting and shoving.
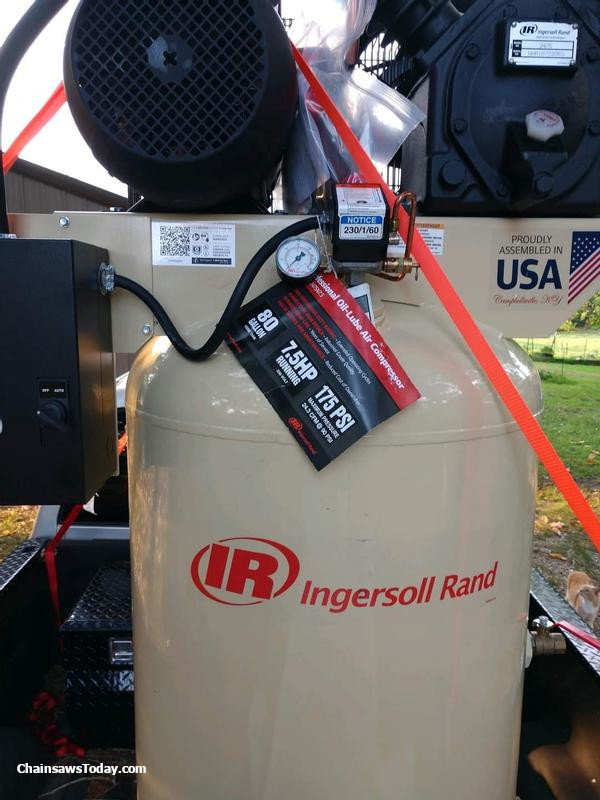
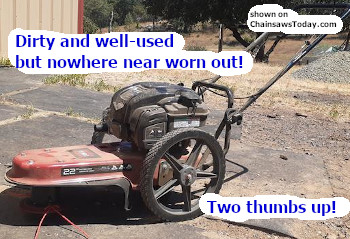
 Raise your hand if you’ve ever lugged a heavy, noisy, vibrating string trimmer all over God’s green earth and then had a backache that evening.
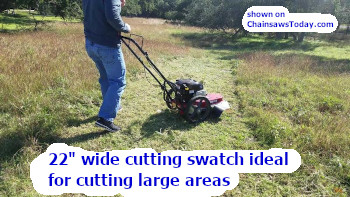
 They are really made for cutting acreage. And even then, depending on your terrain and what you’re trying to cut, they may not be suitable.
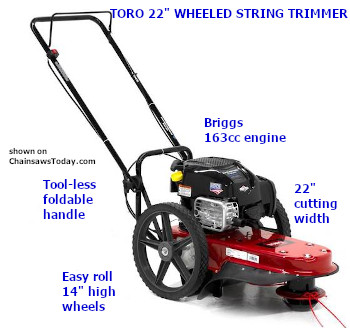
 If you’re a regular reader of ChainsawsToday, you know I love getting my hands on various chainsaws and trying them out.
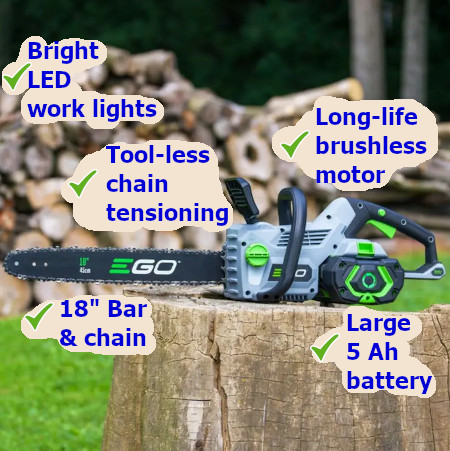
 Or maybe you live on a tropical island and you don’t even own a winter coat!

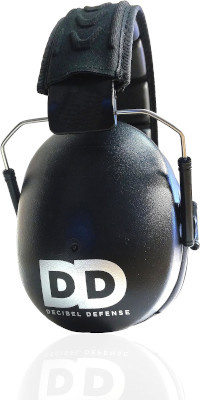
 In many cases, once it’s lost, it never comes back. Also, it can be cumulative. The more exposure you have to loud noise, over time it will absolutely begin to affect your hearing.
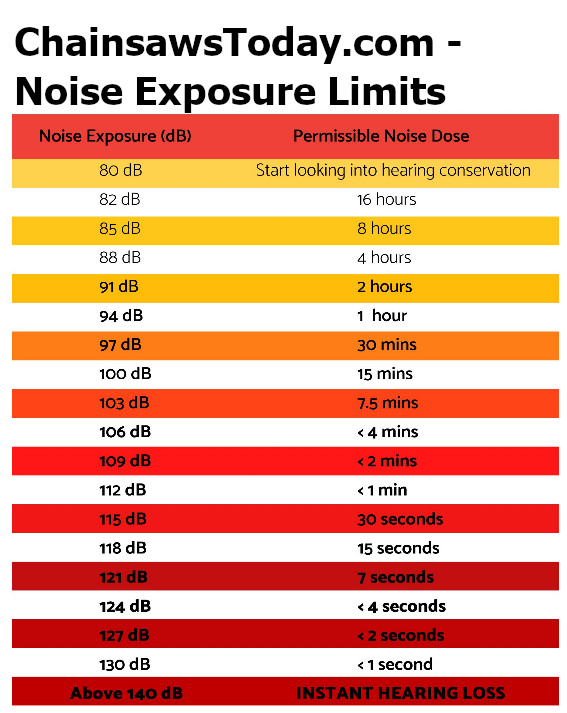
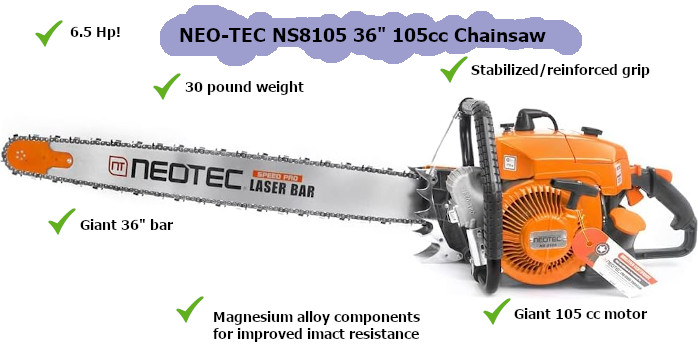
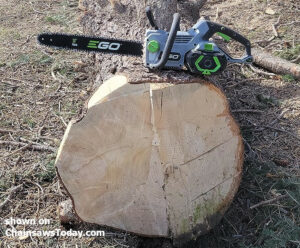
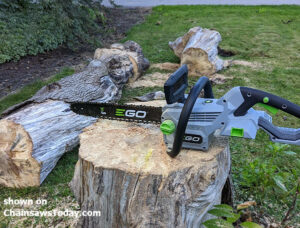
 Right out of the box, this thing started right up and gave me no issues cutting.